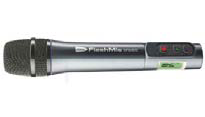
Recording with the FlashMic:
- To switch on, press and hold the ‘Menu’ button on the end of the FlashMic.
- There are only 3 buttons!
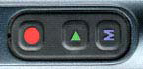
Record Play Stop
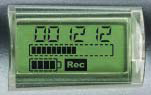
- To Record press the red button (‘Rec’ will show in the display).
- To Stop press the blue ‘M’ button.
- There is a headphone socket on the end and its volume is adjusted by scrolling the ‘Menu’ button up or down.
To copy the audio into Burli:
- Connect the FlashMic to the computer with the USB cable.
- The FlashMic will appear as a drive in ‘My Computer’ (typically drive E:)
- In Burli go to the ‘Open’ menu and choose ‘External files’
- Navigate to the FlashMic. The recordings will be in a folder called ‘Audio’ and will be called something like ‘DRM_85_Recording_TRK001’.
- Click OK. The audio file will be transferred to the work folder in Burli (you will have to repeat these steps for each file).
- In windows, remember to use the ‘Safely remove hardware’ thingy, like any other USB drive, before unplugging the cable.
• To switch off press and hold the ‘Menu’ button.